Understanding MiniDV Tapes and Their Importance
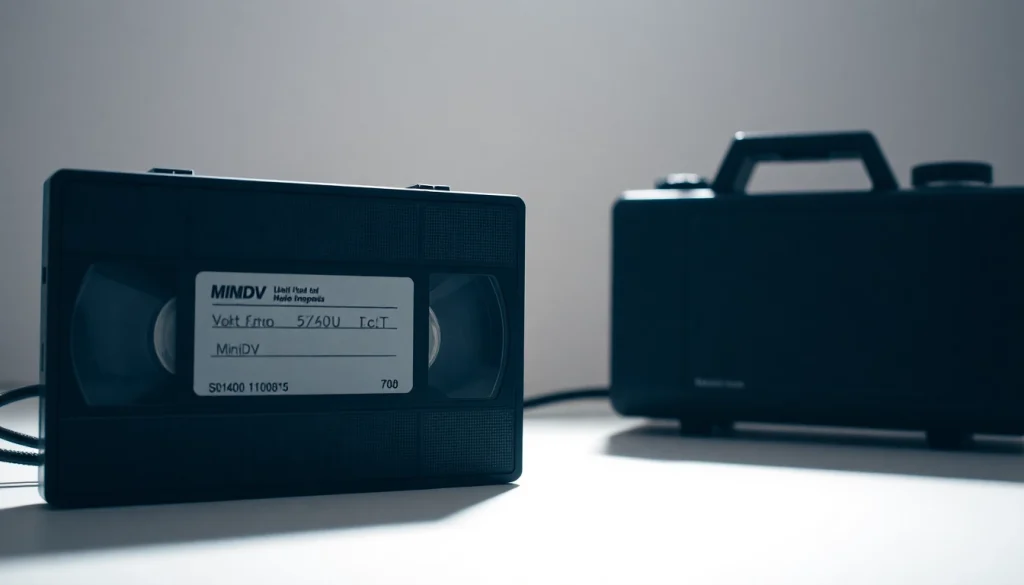
What is MiniDV and Its History?
Introduced in the late 1990s, MiniDV (Mini Digital Video) became a popular format for digital video recording, particularly for home videos and amateur filmmakers. This compact tape format revolutionized personal and professional videography by offering affordable quality and portability. MiniDV tapes measure just 6.35mm in width, making them smaller than the standard digital video (DV) tapes while still providing high-quality video resolution of up to 720×480 pixels.
The significance of MiniDV lies not only in its size but also in the quality of the footage it captures. MiniDV was an upgrade from VHS and Hi8 formats, allowing users to record longer videos without sacrificing quality. With approximately 60-90 minutes of recording time on each tape, it quickly became a favorite choice for videographers. Despite its strengths, the evolution of video formats and recording methods, such as the rise of digital cameras and smartphones, has rendered MiniDV less common in recent years. However, many still treasure their MiniDV tapes, filled with priceless memories.
Why Convert MiniDV to Digital?
As technology advances, the risk of losing valuable memories recorded on MiniDV tapes becomes increasingly significant. Converting MiniDV to digital ensures that these memories are preserved and accessible in a format compatible with modern devices. Digital formats offer higher stability, longevity, and ease of sharing over the internet, making it crucial to convert older formats.
Moreover, digital files can be edited, enhanced, and shared across various platforms without the degradation associated with repeated playback on physical media. The conversion process also mitigates the risks of physical damage, as digital files remain intact and can be backed up to cloud storage or external drives.
Common Challenges in MiniDV Conversion
While converting MiniDV tapes to digital is beneficial, several challenges can complicate the process. For starters, finding compatible hardware, such as a MiniDV camcorder or a capture device, can be challenging, especially as these items become less common in retail stores. Additionally, users may encounter issues with tape degradation due to age, leading to potential loss of video quality during playback and conversion.
Another common challenge is the technical know-how required to undertake a successful conversion. Many users may lack experience with the software needed for capturing video, editing, and saving files in the appropriate formats. These obstacles can discourage individuals from attempting the conversion themselves, making professional services an appealing alternative.
Tools and Equipment Needed for Conversion
Essential Hardware for MiniDV to Digital
To successfully convert MiniDV tapes to digital, certain hardware components are essential. The most critical piece of equipment is a MiniDV camcorder or player capable of playing back the tapes. If this is unavailable, external capture devices like FireWire (IEEE 1394) adapters can also facilitate the conversion process.
Moreover, a computer with sufficient processing power and storage is crucial. Look for computers with USB 3.0 ports and plenty of RAM to handle video files seamlessly. If using a capture card, ensure it is compatible with your operating system and can support the video quality you wish to capture.
Choosing Software for Your Conversion Process
The software you choose will significantly impact the quality of the digital conversion. Popular programs such as Adobe Premiere Pro, Final Cut Pro, and iMovie provide valuable tools for video capture and editing. For those seeking free options, software like VLC Media Player is excellent for simple conversions, while more specialized tools like VirtualDub offer advanced functionalities.
It is essential to consider the software’s user interface and the learning curve involved. A program that includes comprehensive tutorials or active support communities can be helpful, especially for beginners looking to grow their skills in video editing.
Best Practices for Setup and Connections
Proper setup and connection of equipment are paramount to achieving quality results during the conversion process. Ensure your MiniDV camcorder or player is connected to the computer via a FireWire cable, as this offers the best transfer speeds and maintains the quality of the video signal.
Before starting the conversion, check the camcorder’s settings to ensure the output resolution matches the desired digital file format. This step is crucial for avoiding complications during the editing phase. Additionally, reducing background noise and ensuring a clutter-free workspace can enhance the efficiency of your conversion setup.
Step-by-Step Guide to Convert MiniDV to Digital
Preparing Your MiniDV Tape for Conversion
Before converting, inspect your MiniDV tapes visually for any signs of damage, such as warping or tears. If a tape is damaged, consider consulting a professional service for recovery if the footage is critical. Ensure that the tape is properly rewound and ready for playback, as this will speed up the conversion process. Additionally, clean the heads of the MiniDV camcorder or player to prevent debris or dust from affecting playback quality.
Using a Capture Device for MiniDV
To initiate the conversion, insert the MiniDV tape into the camcorder and connect it to your computer using the necessary cables. Open your chosen video capture software, select the appropriate input source, and follow the on-screen prompts to begin capturing video. Monitor the transfer process closely to identify any potential errors during capture. It can take anywhere from a few minutes to several hours, depending on the length of the tape.
Saving and Editing Your Digital Files
Once the capture is complete, it is crucial to save the digital file promptly. Choose a recognized format such as .MP4 or .AVI to ensure compatibility across various devices. If you wish to edit the footage, familiarize yourself with the basic editing functions of your chosen software. Adding titles, transitions, and music can enhance the overall presentation of your digital files.
Always export your edited files in high resolution to maintain video quality. Consider creating multiple backups on different devices or cloud storage to prevent data loss. Regularly updating your backups will further safeguard your digital treasures.
Maintaining Quality During MiniDV Conversion
Tips for Avoiding Quality Loss
Quality loss during conversion can be avoided by adhering to specific best practices. Ensure smooth tape playback by using a well-maintained player that can handle MiniDV tapes effectively. Adjust the output settings in your video capture software to match the superior format of your tapes. Avoid using low-quality cables and ports that can introduce noise during the capture process.
Additionally, consider capturing at the highest possible resolution and frame rate your equipment allows, as this can substantially elevate the quality of the final digital file.
File Formats: Which is Best for Your Needs?
Understanding file formats is vital when converting MiniDV to digital. Common formats include .MOV, .MP4, and .AVI. Each format has its strengths and weaknesses, where .MP4 offers excellent compression and compatibility, while .AVI retains better quality but lacks in file size efficiency. Choose the format that best aligns with your intended use — whether for high-quality preservation, sharing on social media, or editing.
How to Backup and Store Your Digital Files
Once the files are converted, backing them up is crucial. Use external hard drives or cloud storage services for redundancy and security. When storing files, organize them systematically within folders labeled by date, event, or subject matter. This organization method simplifies retrieval and enhances long-term storage viability.
Consider creating multiple copies of your digital files on various platforms, accompanied by external hard drives or USBs, as unexpected hardware failures can occur at any time. Retaining a local and offsite backup is a best practice for any digital content that holds value.
FAQs and Troubleshooting MiniDV to Digital Conversion
What to Do if the Tape is Damaged?
In cases where your MiniDV tape has sustained physical damage, your first action should be to handle it with care. Avoid forcing the tape into any device, as this may lead to further deterioration. If you face issues such as video playback errors or visible defects, it’s advisable to seek a professional service specializing in video recovery. They employ techniques that may successfully retrieve content from damaged tapes.
Common Errors and Their Solutions
During the conversion process, users may encounter various errors, including dropped frames, audio-video synchronization issues, and distorted footage. To handle dropped frames, ensure that your computer meets the necessary specifications to process video files effectively. For synchronization issues, check your software settings for adjusting audio delay to match video playback.
When distortion occurs, inspect physical connections and cables for damage. Sometimes, replacing a frayed cable may resolve signal issues significantly.
How to Maintain Your Digital Files Long-Term
Maintaining the integrity of your digital files is essential for long-term preservation. Regularly check the storage media for errors and transfer files to new drives every few years to avoid data corruption. Utilizing storage media that utilizes a write-once-read-many (WORM) technology can enhance data permanence and deter accidental deletions.
Lastly, creating a timeline for backup schedules is beneficial. Take time every few months to ensure all files are stored in an organized manner, and update them as necessary to reflect any changes, edits, or additional content created.
You may also like
-
Maximize Your Links: The Comprehensive Guide to URL Shortener Tools
-
Enhancing Online Presence with an Effective URL Shortener
-
Simple Steps to Create Short Link and Enhance Your Sharing Experience
-
Maximizing Productivity with a Virtual Desktop: Features, Benefits, and Best Practices
-
An In-Depth Look at Ubiquiti: Network Solutions for Modern Connectivity